E-Z Banner Hanging Products

Banner hanger clips let you easily suspend banners from ceilings. Shop Now »
Banner hanger rails (also known as banner clips) enhance the visibility of messages you desire to communicate. Frame your signs and banners using our E-Z™ brand of simple and sturdy banner hanging solutions.
The banner hanger rail is designed to attach along the top and bottom edges of banners or signs to keep the graphics flat and straight (improving appearance and readability). Think of the banner hangers as clamping/pinching/holding the graphic. Select from the most popular styles and sizes of banner hanging hardware used in retail stores, convention centers, offices, schools, and more for a complete display solution.
What’s the right banner hanging hardware for my graphic?
Take into consideration:
- Budget
- Desired Appearance
- Type and Thickness of Sign Material
- Size of Banner or Sign
Still not sure? Browse the products below or contact us – we’re happy to help!
- Aluminum Banner Hangers (stylish, heavy-duty)
- Plastic Banner Hangers (less expensive, lightweight)
Shop Banner Hanging Hardware & Kits for Ceilings:
Showing all 11 results
-
 ID: 65-20036$34.99 – $37.99
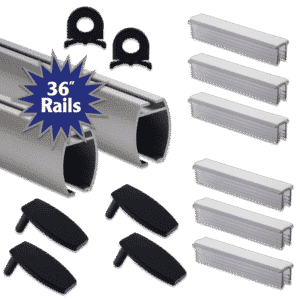
E-Z Elliptical Aluminum Banner Hanging Kits for Drop Ceilings
Product ID: 65-20036Choose options This product has multiple variants. The options may be chosen on the product pageE-Z Elliptical Aluminum Banner Hanging Kits for Drop Ceilings
-
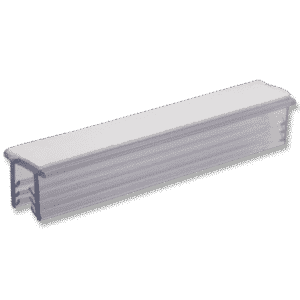
ID: 65-10424$10.75 – $16.99
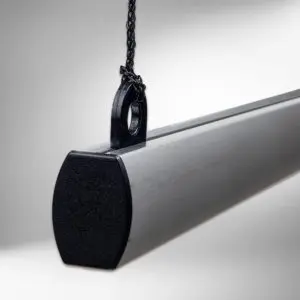
E-Z Elliptical Aluminum Banner Hanger
Product ID: 65-10424Choose options This product has multiple variants. The options may be chosen on the product pageE-Z Elliptical Aluminum Banner Hanger
-
ID: 65-11032$4.99 – $8.12
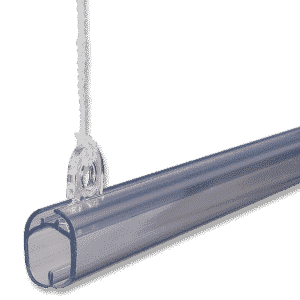
E-Z Elliptical Plastic Banner Hanger
Product ID: 65-11032Choose options This product has multiple variants. The options may be chosen on the product pageE-Z Elliptical Plastic Banner Hanger
-
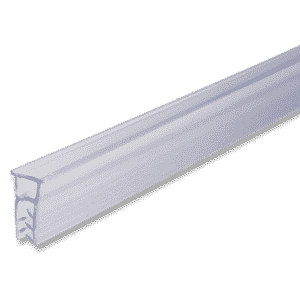
ID: 65-10622$2.63 – $3.95
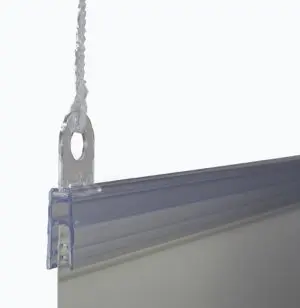
E-Z Snap and Grip Clear Banner Hanger
Product ID: 65-10622Choose options This product has multiple variants. The options may be chosen on the product pageE-Z Snap and Grip Clear Banner Hanger
-
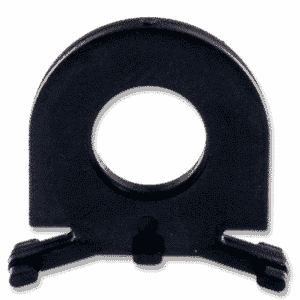
ID: 65-11030$0.20
End Cap for E-Z Elliptical Aluminum Banner Hanger
Product ID: 65-11030Add to cartEnd Cap for E-Z Elliptical Aluminum Banner Hanger
.20 -
ID: 65-11020$0.20
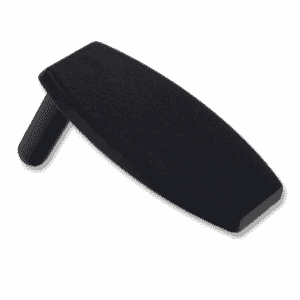
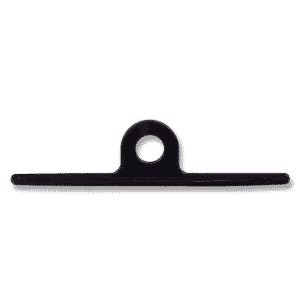
Hanger Clip for E-Z Elliptical Banner Hanger
Product ID: 65-11020Choose options This product has multiple variants. The options may be chosen on the product pageHanger Clip for E-Z Elliptical Banner Hanger
-
ID: 65-11000$0.20
Hanger Clip for E-Z Plastic Banner Hanger, Clear
Product ID: 65-11000Add to cartHanger Clip for E-Z Plastic Banner Hanger, Clear
.20 -
ID: 65-10503$0.47
E-Z Grip 3-in. Insert for Elliptical Aluminum Banner Hanger
Product ID: 65-10503Add to cartE-Z Grip 3-in. Insert for Elliptical Aluminum Banner Hanger
.465 -
ID: 65-10504$0.57 – $0.80
E-Z Grip Heavy Duty Insert for Elliptical Aluminum Hanger
Product ID: 65-10504Choose options This product has multiple variants. The options may be chosen on the product pageE-Z Grip Heavy Duty Insert for Elliptical Aluminum Hanger
-
ID: 65-10524$2.50 – $4.25
E-Z Snap Insert for Elliptical Aluminum Banner Hanger
Product ID: 65-10524Choose options This product has multiple variants. The options may be chosen on the product pageE-Z Snap Insert for Elliptical Aluminum Banner Hanger
-
ID: 65-11040$0.47
E-Z Elliptical Aluminum Sign Hanger Joiner
Product ID: 65-11040Add to cartE-Z Elliptical Aluminum Sign Hanger Joiner
0.47